
7 Tips for Buying Sewer Drain Cameras

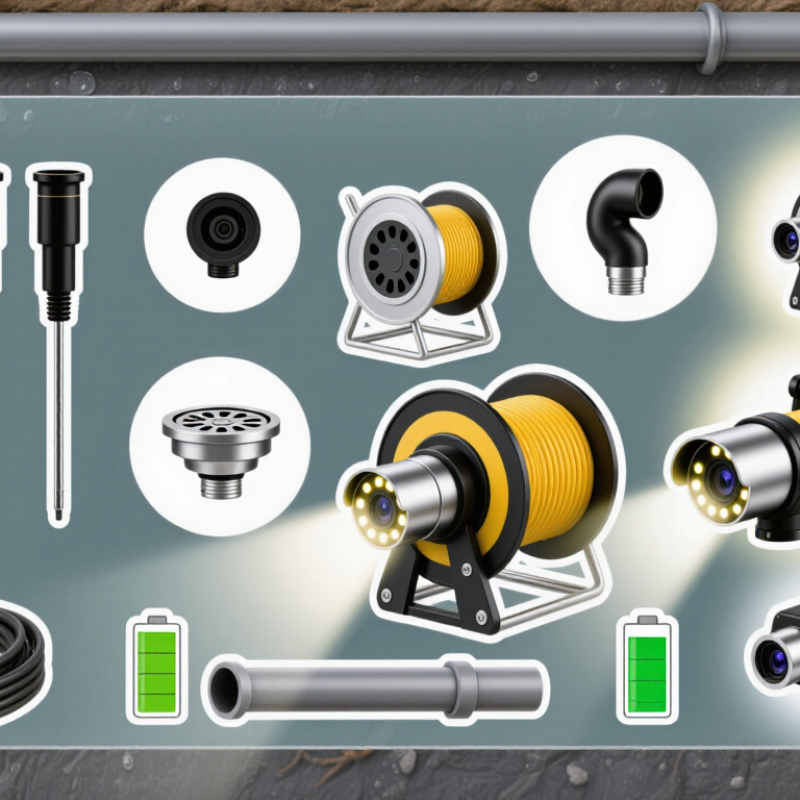
Sewer Drain Cameras help contractors see what a blockage, leak, or root intrusion looks like before choosing the next step. Yet buying the right system takes more than comparing screen sizes. Cable length, camera-head diameter, lighting, recording options, and portability all shape performance in real pipes. A compact camera may pass a tight bend but struggle in a long main. A larger display may look impressive, but it cannot fix a weak cable or poor image quality.

This guide’s seven tips focus on details buyers can check: pipe range, push-cable stiffness, self-leveling imaging, battery life, durability, service support, and total cost. Look beyond the product photo. Ask how the camera performs in a damp, gritty line, whether replacement parts are available, and how easily footage can be shared with a customer. Small details matter.

One important note: no verifiable expert quotation or named Sewer Drain Cameras specialist was provided. To protect accuracy, this introduction does not invent one. A practical buying principle still applies: “Choose for the pipes you inspect most, not the features that look best on a product page.” It is a useful rule, though not a sourced quotation. Before purchasing, compare specifications with real job conditions and request a demonstration when possible. No camera suits every crew. The right choice depends on the work, the operator, and the support available after the sale.
7 Tips for Buying Sewer Drain Cameras

Define the Pipe Range and Access Conditions Before Comparing Cameras

Before comparing sewer drain cameras, record the pipe’s approximate diameter, inspection distance, material, and access points. A camera that fits a four-inch lateral may not suit a large main. Measure the narrowest opening, not just the pipe itself. Note bends, standing water, deposits, and whether entry is through a cleanout or manhole. Small details matter.

The U.S. EPA’s 2022 Clean Watersheds Needs Survey estimated $115.3 billion in capital needs for wastewater collection systems over 20 years. That figure describes infrastructure needs, not camera performance, but it shows why matching inspection equipment to the job matters.

For short, narrow lines with several bends, a flexible push cable may be easier to guide. Longer runs or larger pipes may call for a more stable crawler system, provided access and turning space allow it. Check the cable’s usable reach, camera-head dimensions, lighting, and locator compatibility against actual site conditions. A longer cable is not automatically better. It can be awkward to handle in a tight room. I’d still recheck the access route on site; measurements taken from old plans can be wrong.

Match Camera Head Diameter and Pushrod Length to the Sewer Run

Match the camera head diameter to the pipe’s inside diameter, bends, and deposits—not just its nominal size. A compact head can pass tight bends, but may show less detail in a wide, wet pipe. A larger head can improve lighting and centering, yet it may hang up at offsets or heavy roots. Check the manufacturer’s stated minimum pipe diameter and measure access points before choosing. Sewer runs vary; a single camera setup rarely suits every section.

Pushrod length should cover the full run from the access point, with enough reserve to manage bends and retrieve the camera. Too little reach leaves the far section unseen. Excess rod can coil at the opening and make distance estimates less reliable. EPA’s 2022 Clean Watersheds Needs Survey estimated $630.1 billion in wastewater infrastructure needs over 20 years; that broad figure includes collection systems, but it does not prescribe camera dimensions. Field conditions still decide the fit.

Tip: Sketch the run, note pipe diameter changes, bends, and access points, then compare them with the head and rod specifications. Test the setup on a short, accessible section first. Watch for a loose-feeling rod or a head that repeatedly catches. Those signs matter. It is easy to overestimate how much pushrod a route needs, especially when a drawing simplifies several bends into one line. Cite inspection measurements and equipment limits in the job record.

Check Sonde Compatibility: 512 Hz Is a Common Locator Frequency

7 Tips for Buying Sewer Drain Cameras

Check Sonde Compatibility: 512 Hz Is a Common Locator Frequency

A sewer camera’s sonde helps a locator find the camera head underground. A 512 Hz signal is common, but it is not universal. Check that the camera’s sonde and your locator use the same frequency before buying. A mismatch can leave you watching a clear screen while the camera’s position remains uncertain. Small detail. Big consequence.

Ask whether the sonde is built into the camera head or sold separately. Confirm how the locator detects its signal and whether the stated frequency applies to your exact setup. Then test both devices together, ideally in an open area before sending the camera into a pipe. Move the head a few feet and check that the locator tracks it reliably. Pipe material, depth, and nearby metal can affect locating results, so one quick test is not a guarantee. It is still useful. This detail is easy to overlook when comparing screen size or cable length, and I would not assume that “compatible” means every locator will work. Get the frequency in writing.

Verify Sealing to IEC 60529; IP68 Immersion Conditions Are Manufacturer-Defined

A sewer camera’s seal matters as much as its image quality. IEC 60529 rates enclosure protection, but IP68 does not promise one universal immersion depth or duration. For IPX8, the conditions are product-specific and should be stated by the manufacturer. IP6X indicates dust-tight protection; it does not prove resistance to water, grit, or repeated cable handling.

Tip: Ask for proof. Request the IP test report and check the tested depth, time, water temperature, and whether the camera head, connectors, and cable joints were included. Compare those conditions with your work: a camera lowered into a wet manhole faces different risks from one used in a shallow drain. A rating printed on a housing is not the same as evidence for the complete assembled system. Look closely at seals around the lens and connector; small cuts or grit can compromise them.

The U.S. EPA’s 2022 Clean Watersheds Needs Survey estimated $630.1 billion in wastewater infrastructure needs over 20 years, underscoring the value of dependable inspection tools. Still, a lab test cannot capture every field condition. Ask how often seals need inspection, and whether opening the housing affects its protection rating. It is easy to overlook. Keep the written immersion limits with the equipment, and avoid assuming “IP68” means safe at any depth or for any length of time.

7 Tips for Buying Sewer Drain Cameras

Check the camera’s ingress-protection rating and request test documentation for the complete assembly, including connectors and cable entry points.

IEC 60529 Immersion Test: IPX7 and IPX8

IPX7 specifies a 30-minute temporary-immersion test. For IPX8, IEC 60529 does not define one universal immersion duration or depth: the conditions are specified for the product and should be documented. A missing IPX8 bar means there is no single standard value to plot.

  1. Verify the IP rating: Ask for the IEC 60529 test report and confirm the exact rating claimed.
  2. Get IPX8 conditions in writing: Confirm tested depth, duration, and any operating conditions with the supplier.
  3. Check the whole assembly: Verify whether the camera head, cable, connectors, and joints are covered by the test.
  4. Inspect sealing details: Ask how seals and cable entries are protected and maintained.
  5. Match the camera to the pipe: Check camera-head diameter, cable length, and flexibility for your drain system.
  6. Review image and lighting: Confirm the camera’s resolution, viewing angle, and illumination suit the inspection.
  7. Ask about serviceability: Check cleaning instructions, replacement parts, warranty terms, and repair support.

Confirm Reporting Supports NASSCO PACP’s 1–5 Condition-Grading Scale

Tip: Confirm the camera system can produce reports using NASSCO PACP’s 1–5 condition-grading scale. Ask for a sample report before buying. Check that the grade appears clearly beside the recorded defect, not only in a separate summary. A useful report also links each observation to its video location and pipe distance. Small details matter.

Tip: Test the reporting workflow with a short sample inspection. Look for defect descriptions, clock positions, distances, and assigned grades. Make sure staff can review and correct entries before exporting the report. Then open the exported file on another computer. A report that looks complete on the camera screen may lose useful details when shared.

Tip: Ask how the system handles uncertain observations. The PACP scale helps organize condition ratings, but the operator still needs training and sound judgment. Two reviewers may not always agree. That is worth discussing. Check whether reports preserve notes and video references, so another qualified reviewer can understand why a grade was assigned. Clear records make comparisons between inspections more dependable.

7 Tips for Buying Sewer Drain Cameras - Confirm Reporting Supports NASSCO PACP’s 1–5 Condition-Grading Scale
Tip What to Check Why It Matters Practical Verification
1. Confirm PACP-compatible reporting Check that the reporting workflow can record PACP inspection observations, applicable defect codes, and condition grades on the 1–5 scale. A video image alone is not a PACP-coded inspection record. Structured observations help make reports more consistent and reviewable. Ask to see a sample report and verify that it shows the observation, location, code, and grade fields your team needs.
2. Verify the grading workflow Confirm that the system distinguishes grades 1 through 5 and lets the inspector document the basis for each recorded observation. The PACP scale ranges from lower-severity to higher-severity condition grades; a grade should be assigned through the appropriate inspection and coding process. Test a sample inspection and check that grades are entered and displayed clearly, rather than inferred only from an image or automated alert.
3. Check recording and image quality Review the camera’s image clarity, lighting control, video recording, still-image capture, and ability to show pipe-wall details. Clear, properly lit footage makes it easier to identify and document defects during inspection and later review. View a test recording in a pipe of a similar diameter and material to the pipes you expect to inspect.
4. Match the system to pipe size and access Compare the camera head, crawler or push-rod setup, cable length, turning ability, and stated operating range with your inspection conditions. Pipe diameter, bends, access points, and inspection distance affect whether the camera can reach and view the area safely and effectively. Request a demonstration using a representative access point and pipe layout; check the manufacturer’s operating limits before purchase.
5. Look for reliable distance measurement Check how the system measures and displays distance from the entry point, and whether the distance can be included in the inspection record. Consistent location information helps crews find reported observations for follow-up, repair, or reinspection. Compare the displayed distance with a measured test run and confirm that the report identifies the measurement reference point.
6. Review data export and record retention Ask which report formats and data exports are available, whether video and still images are linked to observations, and how files can be backed up. Portable, well-organized records make it easier to share inspection results, maintain project history, and review coded observations. Request a sample export and check that project details, observation records, grades, distances, and media references remain understandable.
7. Evaluate training, support, and total cost Include training, maintenance, consumables, software or reporting fees, warranty terms, and technical support in the purchase comparison. Consistent reporting depends on both suitable equipment and inspectors who understand the applicable coding and grading procedures. Ask what training is included, how updates are handled, and which ongoing costs or service requirements apply after purchase.

Enquire Today

"*" indicates required fields