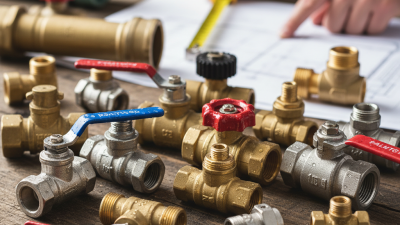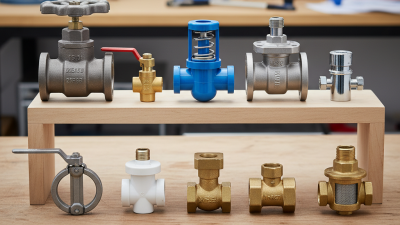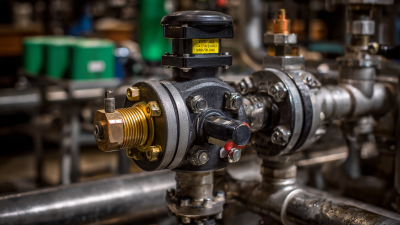
A leaking water valve can leave more than a damp spot. It can stain the cabinet, soften nearby wood, and slowly waste water. The tricky part is finding where the leak starts. Is water beading around the handle, gathering at a threaded connection, or running down the pipe? Each clue points to a different problem.
A valve that drips from its stem may have a worn packing seal or a loose packing nut. A leak at a joint can signal a failing connector or damaged seal. Water coming through the valve body may mean corrosion or a crack, and tightening it may not help. Small details matter. Notice whether the drip appears only when the valve is open, and dry the area before checking again.
Plumbing expert Richard Trethewey of This Old House is known for practical home-repair guidance. A concise principle consistent with that approach is: “Find the leak’s exact source before choosing a repair.” This is an editorial paraphrase, not a verbatim quotation. It matters because guessing can turn a minor repair into a larger one.
If the valve controls a fixture, shut it off gently and watch whether the leak slows. Don’t force a stiff handle. Some valves are old, and a little pressure can make them worse. I should add one caveat: a visible drip may come from the pipe above, not the valve itself. When the source is unclear, or water keeps flowing, a licensed plumber can inspect it safely.
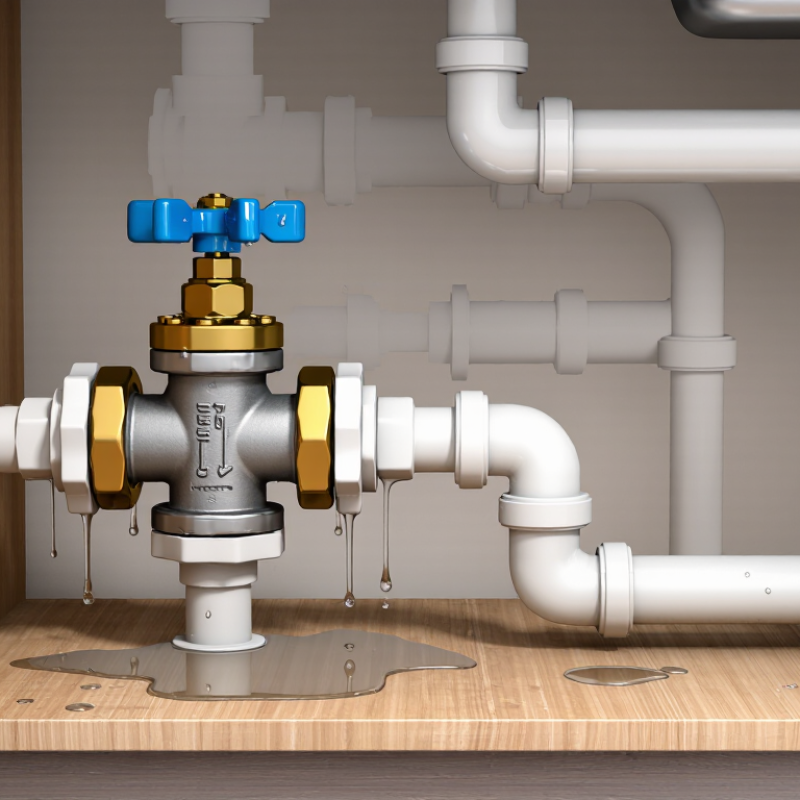
A water valve controls flow to a fixture or appliance, letting you stop water for repairs or emergencies. You may find one beneath a sink, behind a toilet, near a washing machine, or beside the main supply line. Many household valves have a quarter-turn handle or a knob that twists several times. Small parts matter.
Leaks often appear around the handle stem, threaded pipe connection, or valve body. A worn packing washer can let water bead around the stem when you turn the handle. Loose connections may drip where threaded parts meet, while corrosion or a hairline crack can wet the valve body itself. Notice whether moisture appears after operating the handle. That detail can help narrow the cause, though a damp surface can be misleading: condensation may look similar.
Tips: Dry the valve with a tissue, then watch for fresh moisture. Place a small bowl underneath and note whether the drip changes when the valve is opened or closed. Don’t force a stiff handle or overtighten a connection; either can worsen damage. If water keeps seeping, the valve is badly corroded, or you cannot safely shut off the supply, contact a qualified plumber. A steady drip deserves attention, even if it seems minor.
Water valve leaks often start with small, worn parts. Inside a compression valve, a washer or O-ring can harden, crack, or flatten after years of use. Water may then seep around the handle or continue dripping from the outlet after the valve is closed. A loose packing nut can also let water escape around the stem. Tightening it slightly may help, but too much force can damage the stem or threads. Small details matter.
Leaks at the pipe connection often point to a different problem: a loose fitting, damaged sealing material, corrosion, or stress from movement. Mineral grit can also interfere with the valve seat, especially in older plumbing. EPA WaterSense estimates that household leaks waste nearly 900 billion gallons of water nationwide each year; that figure covers many leak types, not valves alone. A valve’s leak location offers useful clues, but it does not prove the cause. A drip near the handle may actually travel from a joint above it. I’ve seen that mislead a first inspection. If the valve body is cracked, badly corroded, or still leaking after a careful adjustment, shut off the water upstream and have a qualified plumbing professional assess it.
Why Is My Water Valve Leaking?
How to Identify the Source and Severity of a Leak
A leak near a water valve may come from the valve itself, a loose connection, or the pipe beside it. Dry the area with a cloth, then watch closely for fresh moisture. A strip of tissue around each joint can reveal a slow seep that is hard to see. It is easy to blame the valve too quickly.
Notice where water appears and how fast it returns. Drops forming around the handle may point to a worn stem seal. Moisture at a threaded joint can suggest a failing connection, while water emerging from the pipe body may indicate corrosion or damage. A tiny bead matters. So does its pace. Check again after a few minutes, and look for rust, mineral deposits, swelling, or water stains nearby.
Severity depends on both the leak rate and its location. A steady stream, a spreading puddle, or water near electrical equipment calls for prompt action. If safe, close the nearest shutoff valve and avoid forcing one that feels stuck. A slow drip still wastes water and can damage cabinets or flooring over time. Sometimes the visible wet spot is not the source; water can travel along a pipe before it falls. If the leak continues, worsens, or the source remains unclear, contact a qualified plumber.
| Leak Location | Common Clues | Likely Cause | Typical Severity | Recommended Response |
|---|---|---|---|---|
| Around the valve handle or stem | Water beads or drips where the handle meets the valve body, especially when the valve is open or being turned. | Worn stem packing, a damaged seal, or a loose packing nut. | Low to moderate if it is a slow drip; higher if the flow increases. | Dry the area and observe it while operating the valve only if safe. A qualified person may be able to adjust or replace the packing. Do not overtighten the nut, which can damage the valve. |
| At a threaded pipe connection | Moisture or a drip appears around the joint between the valve and a threaded pipe. | A loose connection, deteriorated thread seal, corrosion, or movement in the piping. | Moderate; potentially high if the joint is under pressure and leaking steadily. | If the leak is active, close the nearest working shutoff if you can do so safely. Have the connection inspected and resealed or replaced; avoid forcing a corroded joint. |
| At a soldered, compression, or push-fit connection | A small bead forms around the joint, or water tracks along the pipe from the connection. | A failed seal, damaged tubing, an incorrectly seated fitting, or a stressed connection. | Moderate; a small leak can worsen without warning. | Place a container or absorbent material below the leak and arrange a repair. Shut off the water if dripping becomes continuous or the fitting appears unstable. |
| From the valve body or a visible crack | Water emerges from the metal or plastic body rather than from a joint or stem. | A cracked body, internal corrosion, freezing damage, or physical impact. | High; the valve may fail suddenly. | Shut off the upstream water supply if accessible and safe. Do not attempt to seal a cracked pressurized valve with tape or putty; arrange prompt replacement by a qualified professional. |
| From the valve outlet while the valve is closed | Water continues to pass through the outlet even though the handle is in the closed position. | Worn internal sealing surfaces, debris, or a damaged valve mechanism. | Moderate; urgent if the valve is needed to control another leak. | Use a separate upstream shutoff if available. Have the valve serviced or replaced, particularly before relying on it as the only emergency shutoff. |
| At a drain cap or small drain screw | Water seeps from a small cap or screw, often on a valve used for draining a system. | A loose cap, worn washer, damaged threads, or a drain port that has not fully closed. | Usually low if limited to occasional drops; moderate if persistent. | Confirm the cap is in its intended position without forcing it. If leakage continues, have the washer or cap inspected and replaced. |
| Water appears below the valve, but the source is unclear | The valve looks wet, but water may be running down from a pipe, fitting, appliance, or condensation above it. | The visible valve may not be the source; water can travel along surfaces before dripping. | Unknown until traced. | Dry the area and check the highest wet point with a flashlight and dry tissue. If the source remains unclear or water is near electrical equipment, keep clear and seek professional help. |
Safety note: Severity depends on leak rate, water pressure, location, and nearby electrical equipment. If water is flowing rapidly, the valve body is cracked, or you cannot stop the leak, use an accessible upstream shutoff if safe and contact a qualified plumber.
Why Is My Water Valve Leaking?
A leaking water valve may drip from its handle, stem, or pipe connection. The location offers a useful clue, but water can travel along a pipe before it drips. Dry the area and watch where moisture first appears. A loose packing nut or worn washer may be repairable; a cracked valve usually needs replacement.
Before working, shut off the water supply and open a nearby faucet to reduce pressure. Place a towel and small container under the valve. If the leak comes from the stem, gently tighten the packing nut a little, then check again. Do not force it. For a worn internal part, remove the handle and replace the washer or cartridge with a matching type. If the valve body is corroded, split, or still leaking, replacement is often more reliable. This repair can feel simpler than it is. If the main shutoff will not close, or the valve is difficult to access, call a licensed plumber.
Tips: Take a clear photo before disassembly, and bring the old part when finding a match. After repair, restore water slowly and inspect the joint with a dry tissue. Even a tiny damp spot matters. Don’t ignore it.
A leak may come from a loose connection, worn washer or packing, or a damaged valve. These estimates assume approximately 0.25 mL per drop and show why even a slow drip is worth addressing. Turn off the water supply before inspecting the valve; repair worn parts if the valve is serviceable, or replace it if the body is cracked or the leak persists.
To prevent a water valve from leaking again, make brief inspections part of routine home maintenance. Look for moisture around the valve body, handle, and pipe connection; a dry tissue can reveal a slow seep. Check for greenish deposits, rust, or mineral crust, too. These signs do not prove the valve is failing, but they deserve attention.
Turn accessible shutoff valves gently a few times a year so they do not remain stuck from disuse. Do not force it. If the handle resists, or water appears when you operate it, stop and call a licensed plumber rather than tightening parts blindly.
Small checks matter.
Keep the area around valves clear, dry, and easy to reach, especially beneath sinks and behind appliances. Protect exposed pipes and valves from freezing, since expanding ice can damage fittings.
The U.S. Environmental Protection Agency’s WaterSense program estimates household leaks can waste nearly 10,000 gallons of water annually; that figure covers many leak types, not valves alone. A quick monthly glance can catch a small drip before it stains a cabinet or damages flooring.
It is easy to assume a valve is fine because it looks clean, but hidden connections can still seep. Keep a simple note of inspection dates and any repairs.
Accreditations
ISO 9001 Quality Management
HSE Management Compliant
Products and services comply with relevant Australian (AS) and international (ISO, etc.) Standards.
"*" indicates required fields